 Making yogurt at home is so easy you won't believe it!
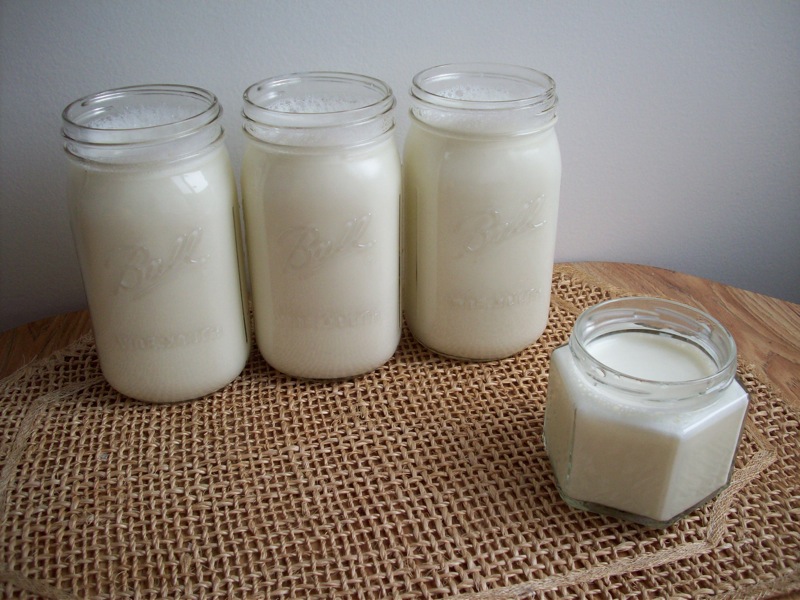
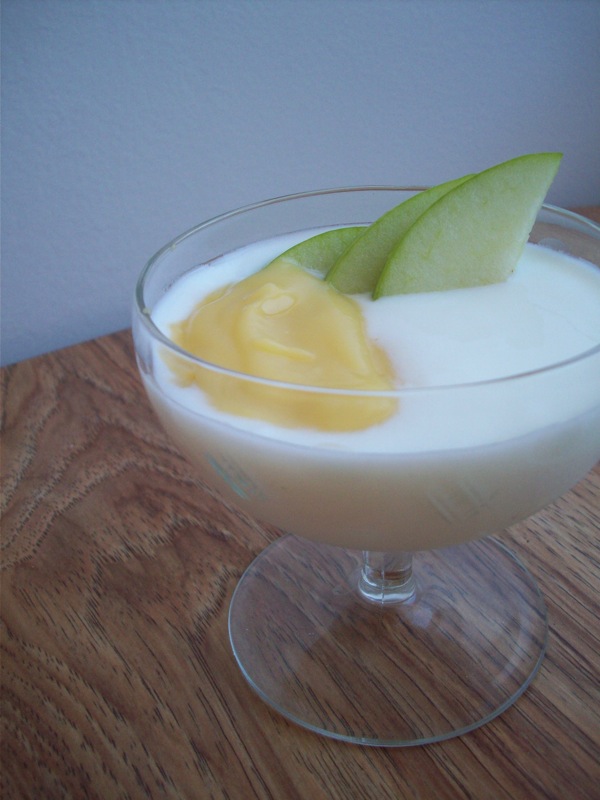
Yogurt is a cultured milk product. We simply add a starter culture (pre-existing plain yogurt) to milk, and give it the proper environmental conditions that allow the culture to reproduce. The starter yogurt has all sorts of beneficial bacteria (such as the famed Acidophilus) that eat the sugar in the milk, and in a wonderful act of alchemy, cause the protein in the milk to coagulate and thicken - yielding that wonderful, creamy yogurt we crave. It is a refreshing treat with homemade granola or with lemon curd (pictured, left).
Once you have yogurt, you can also make a spreadable yogurt cheese by straining it for a few hours through a colander lined with muslin or cheesecloth. I like to use it as a sour cream alternative, or I add salt and herbs and spread it on toast. Make sure you save a little leftover yogurt so you can use it as your starter for your next batch.
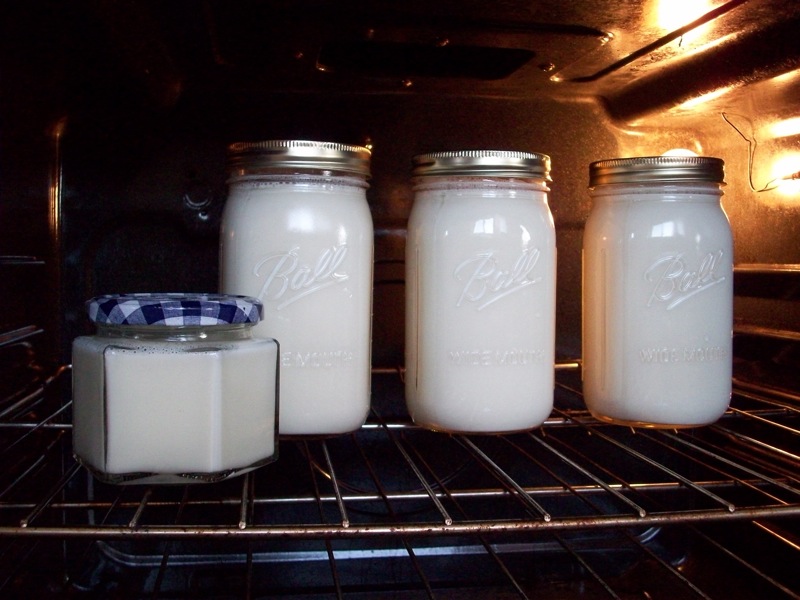
Your yogurt will depend, of course, on the milk and yogurt you use, and the exact set of conditions you subject them to (mainly temperature and time). It'll take a little bit of trial and error, but soon you'll be producing your own delicious yogurt!
Ingredients:
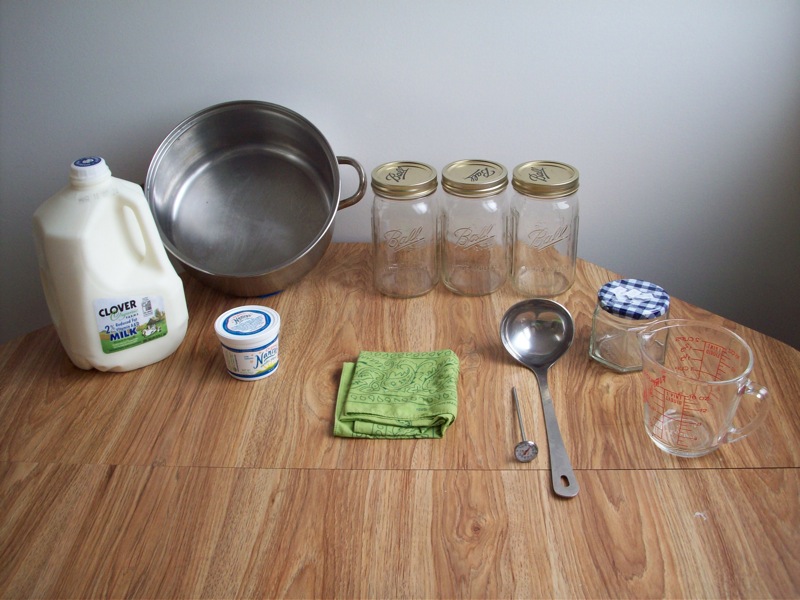
- Milk: for best results, I recommend organic milk that is at least 2%, and NOT ultra-pasteurized (a pasteurization process at extremely high heat, which damages the milk structure). Back when I lived at Hidden Villa, we made yogurt from the whole Jersey cow milk that we had in abundance. It was like a thick, creamy custard; it was incredible. Now, in my non-farm life, I really like Clover 2% or Whole. I once tried to make yogurt with the Safeway Lucerne milk and it didn't turn out properly; the milk became sour and did not coagulate. BUT, that was just one experience.
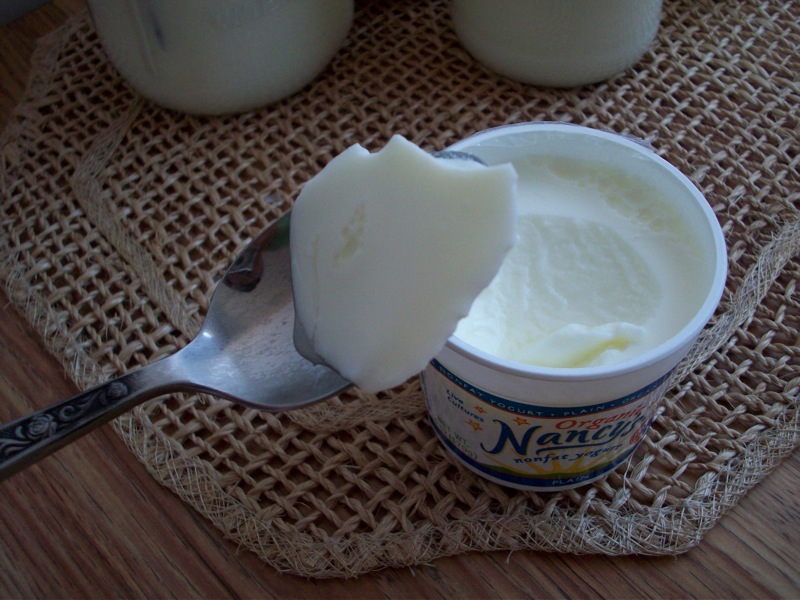
- Yogurt culture: this is simply a small amount plain yogurt that you will use as your starter. For one gallon of milk, I only used a 6 oz container. After trying a couple brands, I have had fabulous results with Nancy's plain non-fat yogurt. My finished yogurt had great flavor and a silky texture.
That's it! But you will also need the following equipment:
- Heavy bottomed pot for heating milk
- Sterile jars for culturing and storing your yogurt. It is extremely important that you sterilize the jars with boiling water, so that you won't have "bad" bacteria or mold that can reproduce in your yogurt.
- Funnel and ladle, or whatever miscellaneous tools you have for transferring milk. Sterilize these too!
- Cooking thermometer: make sure it can measure lower temperatures, as low as 100 degrees Fahrenheit. Not all meat thermometers do this.
- A handkerchief or towel to cover the milk while it cools.