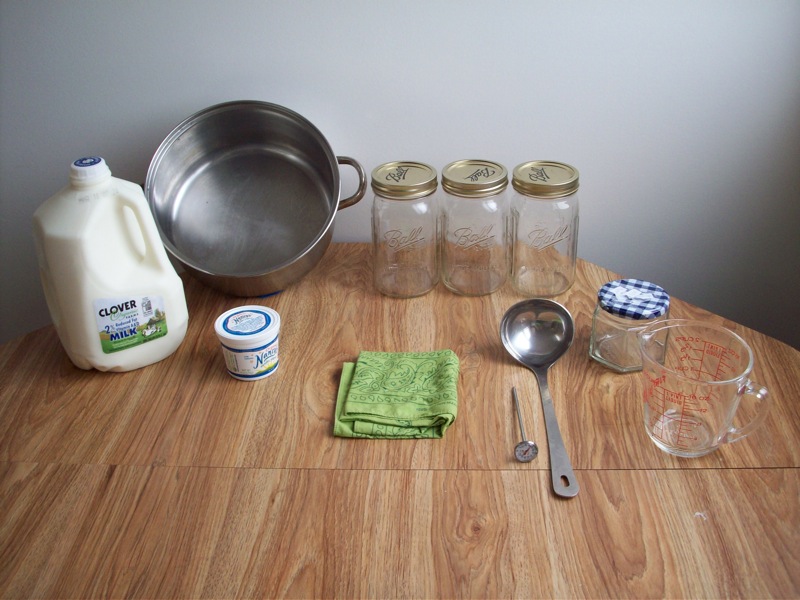
 STEP 1: Pour milk into pot and heat slowly over medium heat, stirring occasionally. Once you have reached 162 degrees Fahrenheit, count for 20 seconds and then turn off the heat.
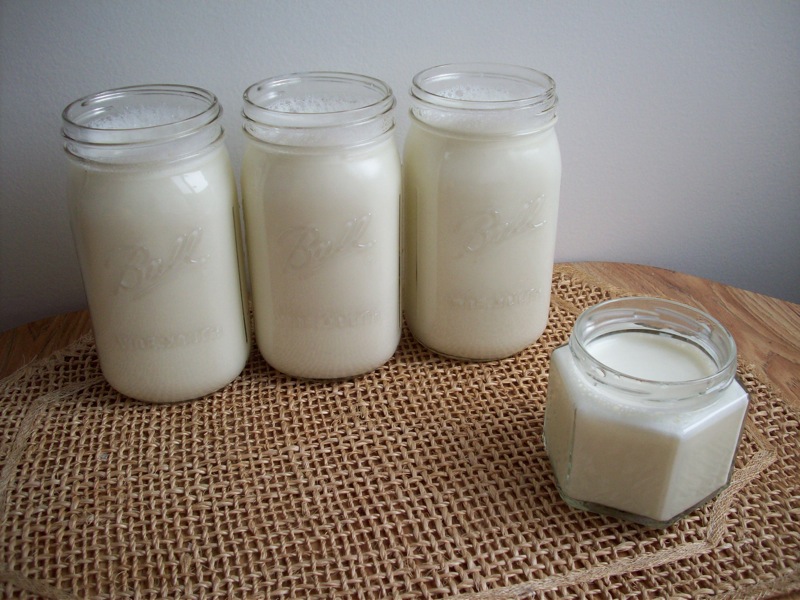
STEP 2: Transfer the hot milk into your sterile jars. Set the jars aside and cover them with the clean towel or handkerchief while they cool. We need to wait until the temperature is between 100 degrees to 115 degrees Fahrenheit before we add our yogurt culture. Any hotter, it will kill the culture; any colder, and the culture will grow too slowly.
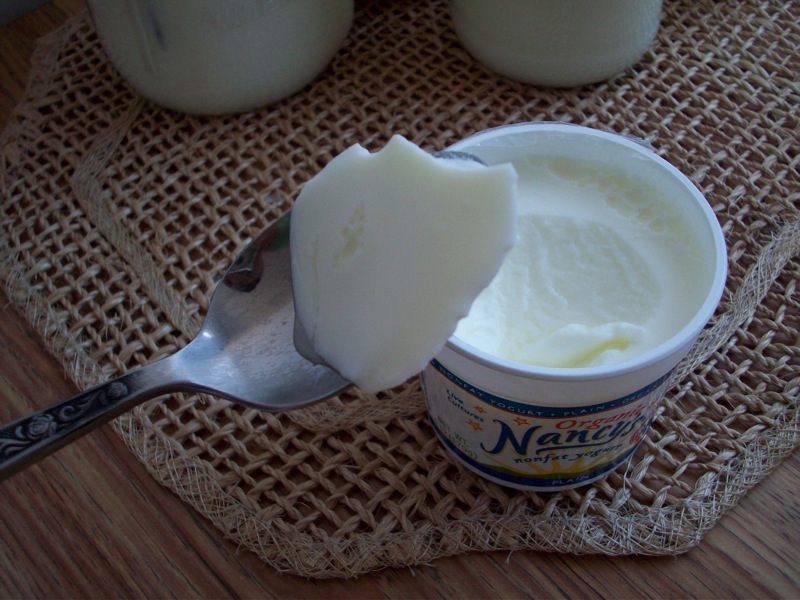
STEP 3: Once the milk has cooled enough, add a big dollop of your yogurt culture to each jar and stir thoroughly. This is the Nancy's non-fat plain yogurt; they add non-fat milk powder to make it extra thick; I have found that just using high-quality 2% milk yields a yogurt that is just thick enough, but much silkier.
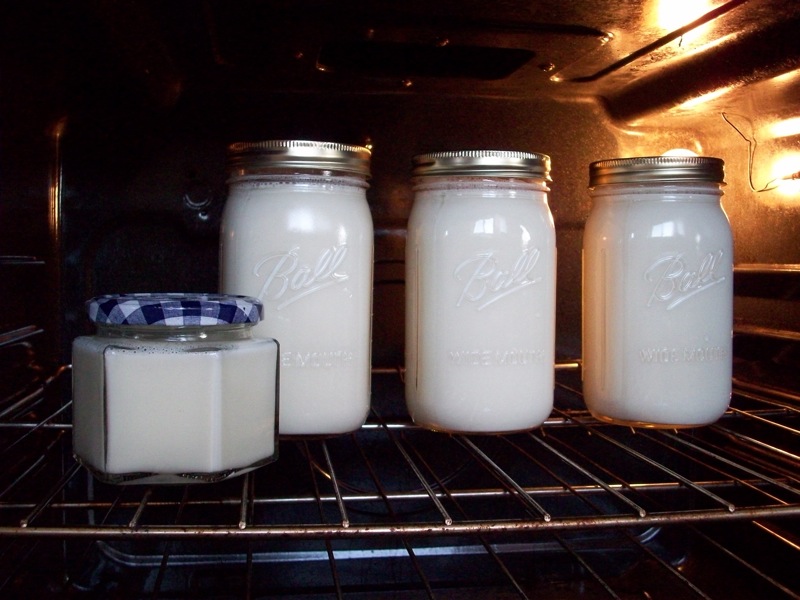
STEP 4: Once you have added the yogurt starter, seal the jars. Now we will let the yogurt sit for 24-36 hours, undisturbed. In order to maintain a more constant temperature, I place the jars in the oven, and turn the oven light on. Make sure you put a sign on the oven so that no one disturbs the yogurt or accidentally turns it on! You can also put the jars in a sleeping bag or an insulated cooler.
STEP 5: After 24 hours, you can start peeking at your yogurt, gently tipping it over to see if the milk has started to thicken. If, after 24 hours, your milk is still completely watery, you can try giving it a boost by turning the oven on very low heat for a minute or two. Be careful, because too much heat can give the yogurt a gritty texture. If all else fails and the milk does not thicken, you can also use lemon juice or vinegar to make a ricotta-like cheese. (Here is a recipe)
Have fun making yogurt! Feel free to post comments or questions if you need help!


No comments:
Post a Comment