Monday, May 19, 2008

Visit us in the Garden on June 1!

We at Urban Sprouts are super excited to offer you the chance to get to know us a bit better and experience the school garden this June!

Please join Urban Sprouts for our ‘Coffee & Kale’ Garden Brunch!

When: Sunday, June 1st, 10:30am to 12 noon
Where: Ida B. Wells High School, 1099 Hayes St. at Pierce, San Francisco
What:
  • Tour the Ida B. Wells school garden
  • Enjoy garden activities like seed saving, seed sowing and herb harvesting.
  • Taste dishes made with organic school garden-grown ingredients, prepared by local chefs from Nopa Restaurant!
  • Support our work by bringing friends and neighbors, and bring your checkbook! You will be invited to give - no gift is too large or too small. Every donation helps urban youth learn to grow their own food at school.
PLEASE CLICK HERE TO RSVP. If you can't make it to the event and you'd like to make a donation, click HERE.

Invitation (above and below) by Lisa Chen.

I hope to see you there!!

Tuesday, May 06, 2008

Urban Sprouts is Starting a Chicken Coop!


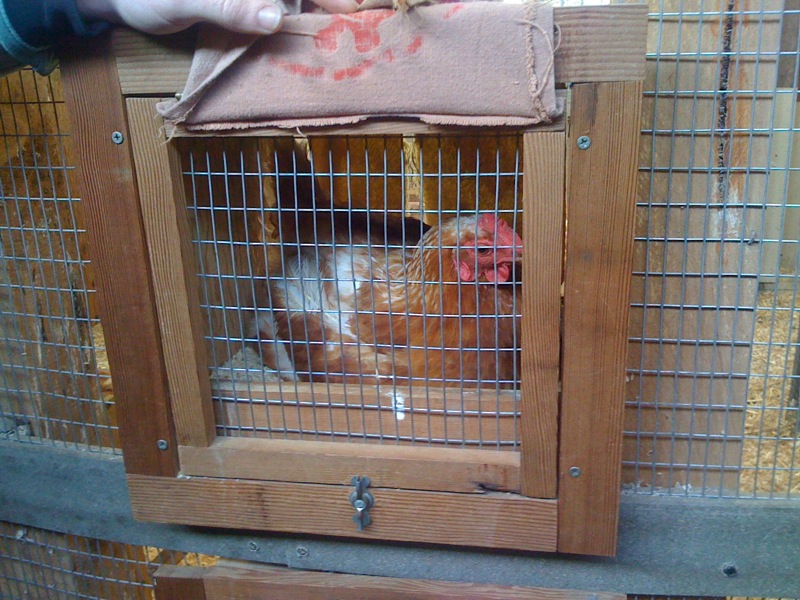
Urban Sprouts is starting a chicken coop in collaboration with June Jordan Small School for Equity! The coop is a wonderful way to learn about where eggs come from and how they are produced. It is also a wonderful opportunity to explore chicken diversity, biology and to understand how chickens fit into garden and farm ecology.

Just yesterday the chicks arrived! The Urban Sprouts Program Manager has a coop of her own and they chicks are being fostered at her urban farm in sunny Oakland until they are old enough to be moved to their new coop home. Some interesting notes to take on keeping chicks, straw is too difficult for them to walk on. Their tiny wings and feet get caught and they tend to fall over. Ground corn cob works better. Also, we located an excellent source for all things fowl: Concord Feed. They carry the exact feeders and water containers and other supplies needed for tiny babies. The staff there is also very knowledgeable about livestock. For now the little peeps will grow strong in their chick hut.


Thursday, May 01, 2008

Worm Bench Inauguration

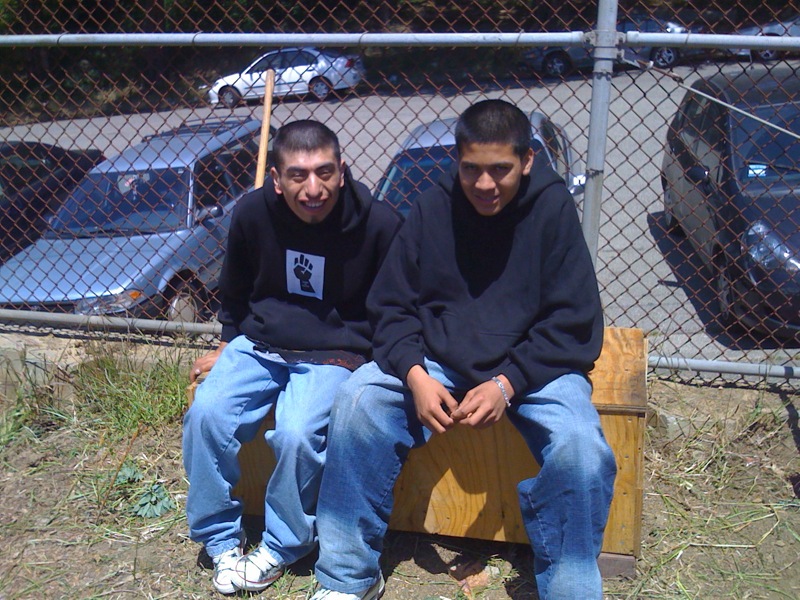
Several months back, a wonderful crew of volunteers from Skywire helped students at June Jordan to build an amazing worm bin-slash-garden bench (photo below). These worms need a wooden box to protect them from the elements — those plastic bins often aren't enough in the outdoors. We use red worms, also known as Eisenia foetida for worm-composting or vermiculture, in which the worms eat plant waste and turn it into compost.

Today, we introduced a "gaggle" of red worms to their new home (top photo). (what do you call a group of worms??) We inaugurated our worm bin-bench with its new resident worms, and by enjoying the view of the garden from our new perch. Que lindo!

You may be wondering, how can I start a worm bin at home? It's not hard, but it takes patience and persistence to help your worms feel at home and begin doing their job . . . eating your garbage! And turning it into nutrient-rich castings for your garden plants, of course! To learn more about worm composting, start HERE, and then check out Worm Woman!

Friday, April 25, 2008

Food class visits Small Farm

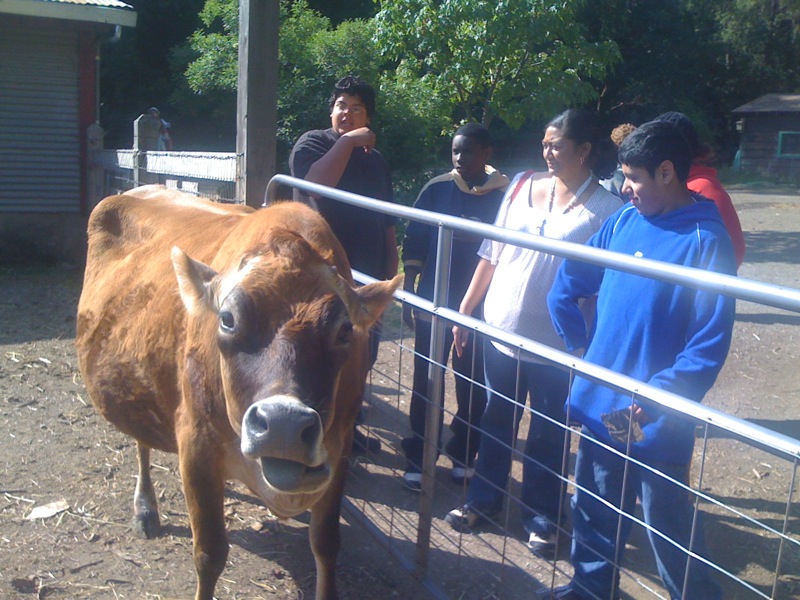
Yesterday the June Jordan Food class took a trip to Hidden Villa ranch, an educational organic farm and ranch. As we drove by the farm fields near the ranch's entrance, a student yelled out, "Look! It's just like the small farms we learned about!" As in, small farms versus industrial farms. I was happy.

Another student had attended summer camp at Hidden Villa recently, at the program for 11-14 year olds. Mr. Olsson (pictured with cow) and I were both counselors there back in the olden days.

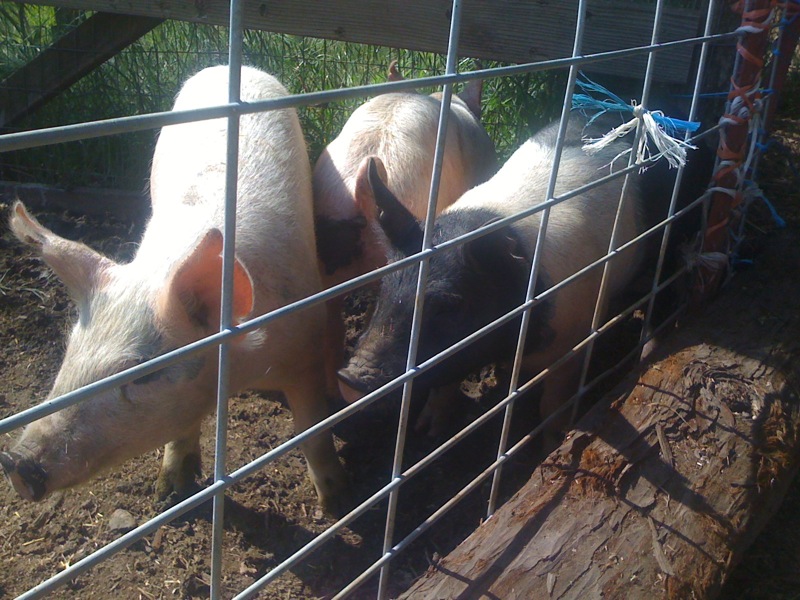
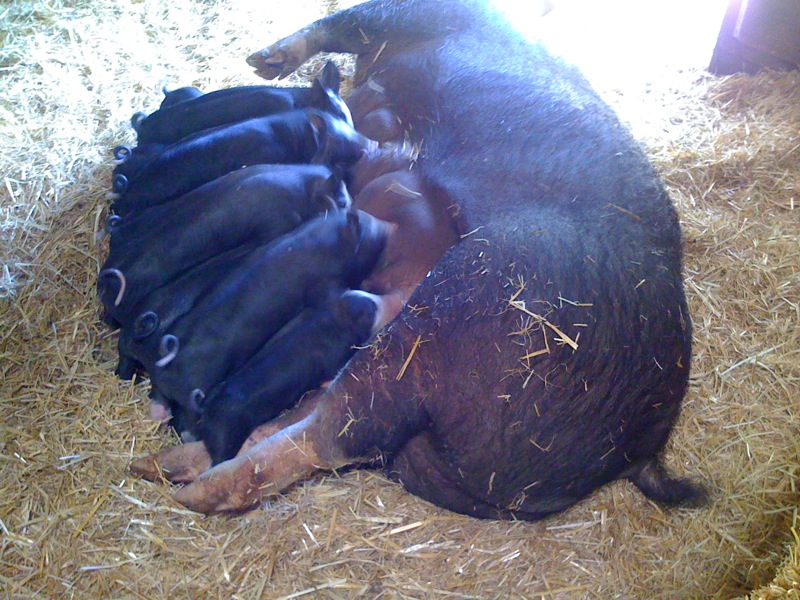
It turned out our group had a lot of knowledge of this place to share! We visited the cows, pigs, goats, sheep and chickens. We laughed a lot at animal antics! We walked in the woods and a student pointed out a banana slug! The garden was full of food crops, and gave us many ideas for crops to grow back at school.


The baby animals were the CUTEST!! Most of all, we were excited to visit the chickens, to get ideas about our own chickens who will soon move in at June Jordan. First we have lots of work to do to get ready! The chicken coop at Hidden Villa, with its peek-a-boo nesting boxes, gave us some great ideas.


Click on the last photo to see more!

Wednesday, April 16, 2008

SF Bay Guardian on School Gardens

Check out the nice article in this week's San Francisco Bay Guardian about school gardens in the bay area, including Urban Sprouts'.
If there's a downside to teaching children how to nurture a green, nutritious school garden, it's hard to fathom. The list of touted benefits is lengthy: students reap fresh air and physical exercise, hands-on participation, awareness of the natural environment, so called "school bonding," and an unprecedented taste for raw spinach. For school faculty, there are welcome breaks in the classroom regimen, an engaging outlet for unruly pupils, and a bridge to involvement with volunteers in the community. And parents get to share skills and experience, from farm expertise to carpentry, that once felt irrelevant to an academic setting.
We're on the second page!

Difficulties in funding aside, people like Abby Jaramillo, the youthful director of San Francisco nonprofit Urban Sprouts, will gladly explain why it's important to find a way to sustain such programs. When Jaramillo and her team took over the Excelsior Garden, shared by the June Jordan School for Equity and Excelsior Middle School, she said she was "up to her armpits in fennel."

But the overgrown herbs weren't the only sign of disrepair. "It was a struggling middle school desperately in need of something that would make the students have a stake," she said. Describing the community's "food environment," a term of art in nutrition education, she listed liquor store fare and junk food as the most prevalent options. Five years and six new school gardens later, Jaramillo thinks school administrators and teachers are genuinely on board with Urban Sprouts, whose mission is to serve low-income youth in San Francisco. "When the kids come outside; they are leaders, teaching each other how to plant," she says. "We need to make the garden a core, that will remain here and make a difference."

Thursday, April 10, 2008

Try this at Home! Yogurt-making

Making yogurt at home is so easy you won't believe it!

Yogurt is a cultured milk product. We simply add a starter culture
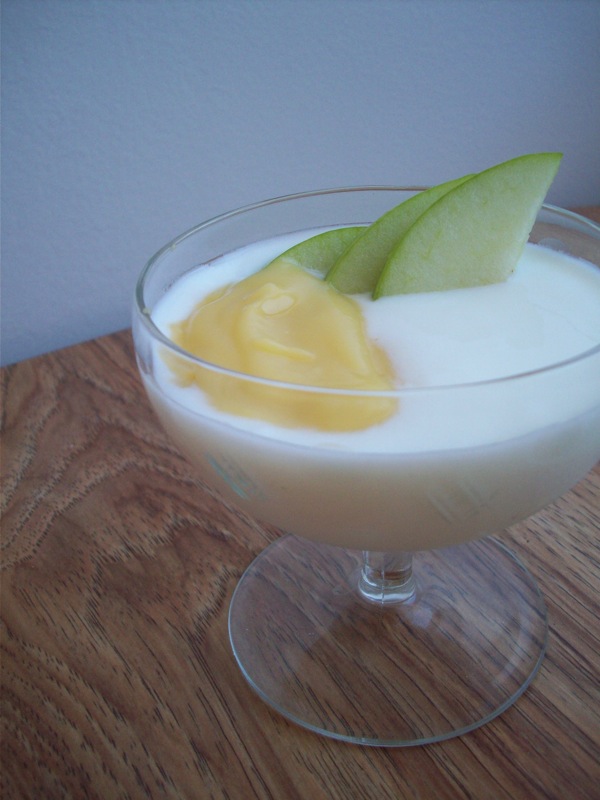
(pre-existing plain yogurt) to milk, and give it the proper environmental conditions that allow the culture to reproduce. The starter yogurt has all sorts of beneficial bacteria (such as the famed Acidophilus) that eat the sugar in the milk, and in a wonderful act of alchemy, cause the protein in the milk to coagulate and thicken - yielding that wonderful, creamy yogurt we crave. It is a refreshing treat with homemade granola or with lemon curd (pictured, left).

Once you have yogurt, you can also make a spreadable yogurt cheese by straining it for a few hours through a colander lined with muslin or cheesecloth. I like to use it as a sour cream alternative, or I add salt and herbs and spread it on toast. Make sure you save a little leftover yogurt so you can use it as your starter for your next batch.

Your yogurt will depend, of course, on the milk and yogurt you use, and the exact set of conditions you subject them to (mainly temperature and time). It'll take a little bit of trial and error, but soon you'll be producing your own delicious yogurt!


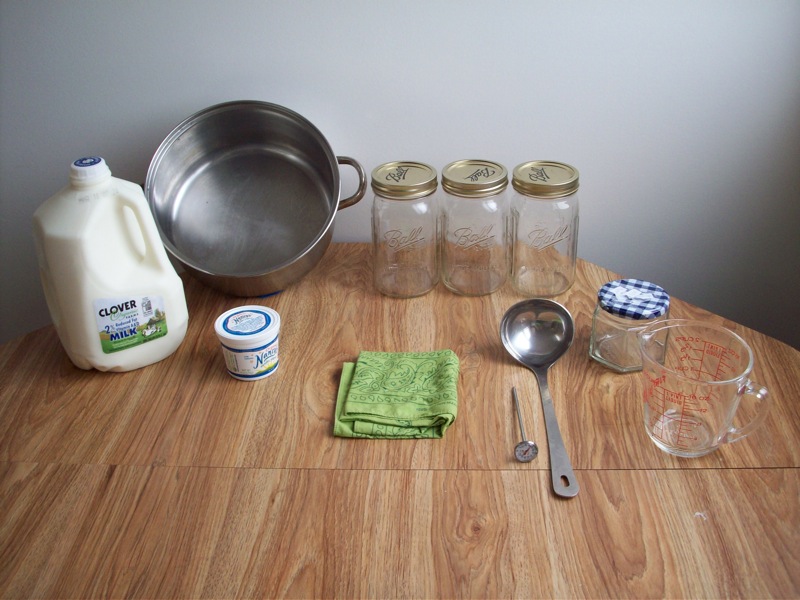
Ingredients:
  • Milk: for best results, I recommend organic milk that is at least 2%, and NOT ultra-pasteurized (a pasteurization process at extremely high heat, which damages the milk structure). Back when I lived at Hidden Villa, we made yogurt from the whole Jersey cow milk that we had in abundance. It was like a thick, creamy custard; it was incredible. Now, in my non-farm life, I really like Clover 2% or Whole. I once tried to make yogurt with the Safeway Lucerne milk and it didn't turn out properly; the milk became sour and did not coagulate. BUT, that was just one experience.
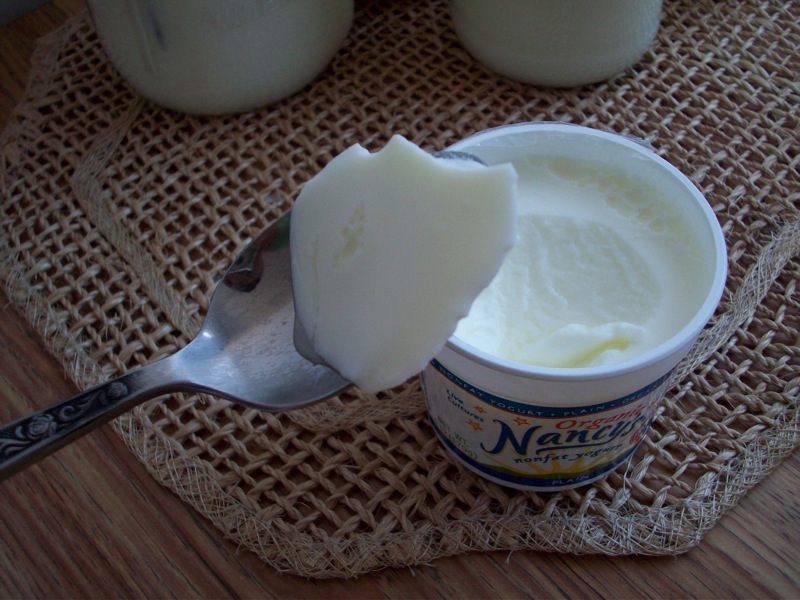
  • Yogurt culture: this is simply a small amount plain yogurt that you will use as your starter. For one gallon of milk, I only used a 6 oz container. After trying a couple brands, I have had fabulous results with Nancy's plain non-fat yogurt. My finished yogurt had great flavor and a silky texture.

That's it! But you will also need the following equipment:
  • Heavy bottomed pot for heating milk
  • Sterile jars for culturing and storing your yogurt. It is extremely important that you sterilize the jars with boiling water, so that you won't have "bad" bacteria or mold that can reproduce in your yogurt.
  • Funnel and ladle, or whatever miscellaneous tools you have for transferring milk. Sterilize these too!
  • Cooking thermometer: make sure it can measure lower temperatures, as low as 100 degrees Fahrenheit. Not all meat thermometers do this.
  • A handkerchief or towel to cover the milk while it cools.

Yogurt-Making - Part 2

Once you have all your tools ready, let's get started!
STEP 1: Pour milk into pot and heat slowly over medium heat, stirring occasionally. Once you have reached 162 degrees Fahrenheit, count for 20 seconds and then turn off the heat.

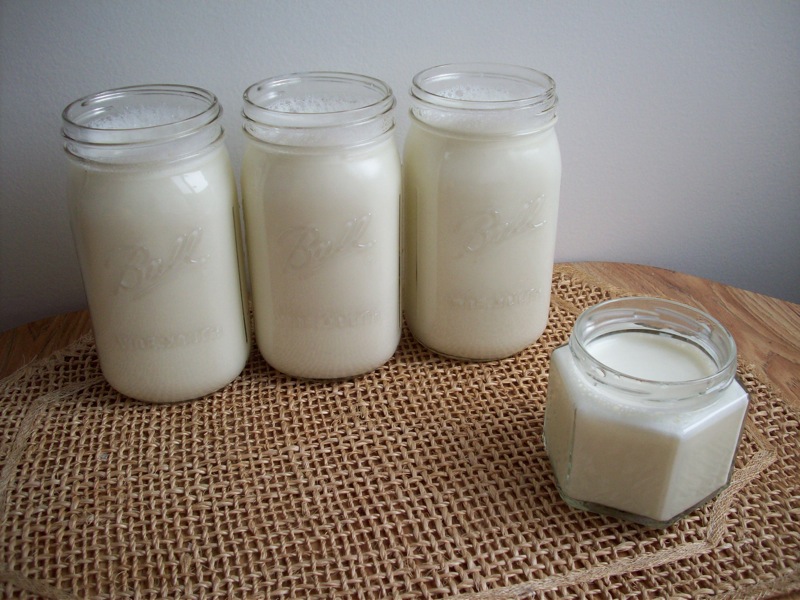
STEP 2: Transfer the hot milk into your sterile jars. Set the jars aside and cover them with the clean towel or handkerchief while they cool. We need to wait until the temperature is between 100 degrees to 115 degrees Fahrenheit before we add our yogurt culture. Any hotter, it will kill the culture; any colder, and the culture will grow too slowly.

STEP 3: Once the milk has cooled enough, add a big dollop of your yogurt culture to each jar and stir thoroughly. This is the Nancy's non-fat plain yogurt; they add non-fat milk powder to make it extra thick; I have found that just using high-quality 2% milk yields a yogurt that is just thick enough, but much silkier.


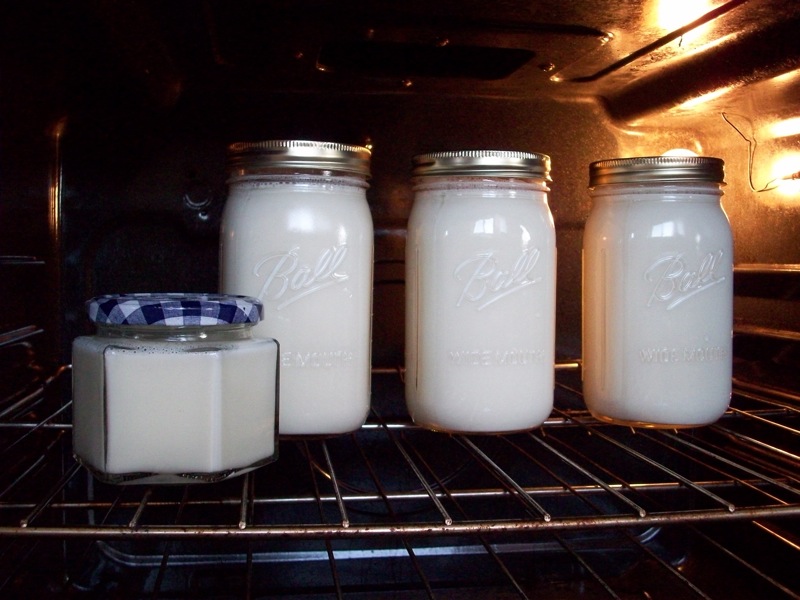
STEP 4: Once you have added the yogurt starter, seal the jars. Now we will let the yogurt sit for 24-36 hours, undisturbed. In order to maintain a more constant temperature, I place the jars in the oven, and turn the oven light on. Make sure you put a sign on the oven so that no one disturbs the yogurt or accidentally turns it on! You can also put the jars in a sleeping bag or an insulated cooler.


STEP 5: After 24 hours, you can start peeking at your yogurt, gently tipping it over to see if the milk has started to thicken. If, after 24 hours, your milk is still completely watery, you can try giving it a boost by turning the oven on very low heat for a minute or two. Be careful, because too much heat can give the yogurt a gritty texture. If all else fails and the milk does not thicken, you can also use lemon juice or vinegar to make a ricotta-like cheese. (Here is a recipe)

Have fun making yogurt! Feel free to post comments or questions if you need help!

Tuesday, April 01, 2008

The Great Sunflower Project!

Help San Francisco State University study the distribution of pollinators in your own backyard. Sign up to be a part of the Great Sunflower Project. Create an account online and you will receive a free packet of wild, native sunflowers (Helianthus annuus) to plant and attract pollinators. Then use the provided datasheet to record the number of pollinators you see. You don’t need to know anything about bees. You just need a willingness to participate and contribute to the project. During your home project you can discuss observations with others online and learn about pollinators. You also don’t need to be located in San Francisco. The Great Sunflower Project is a national project. Sign up today and plant your seeds in your own garden, a community garden or better yet, a school garden!